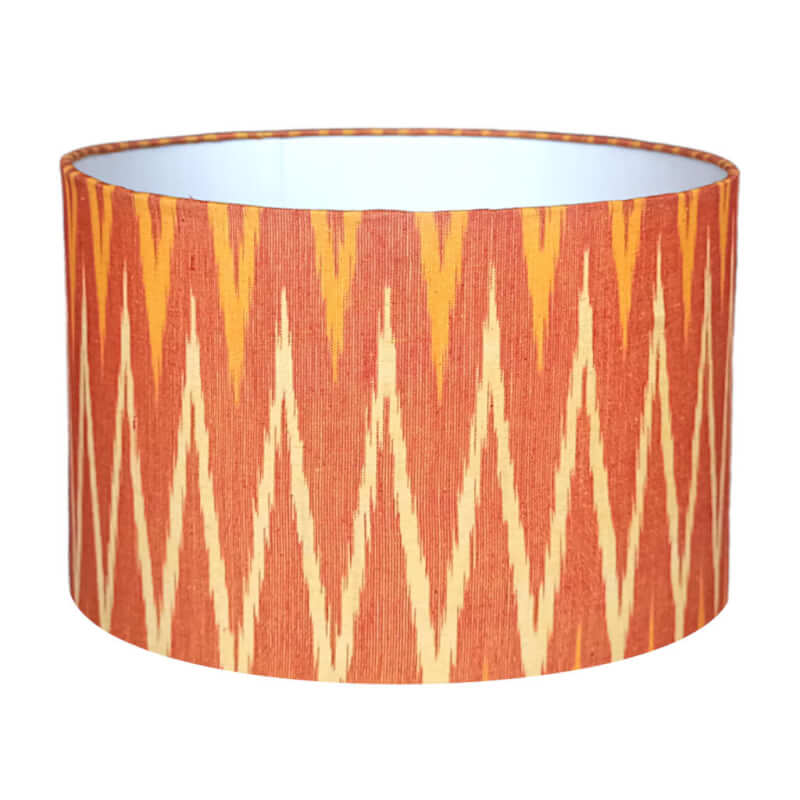
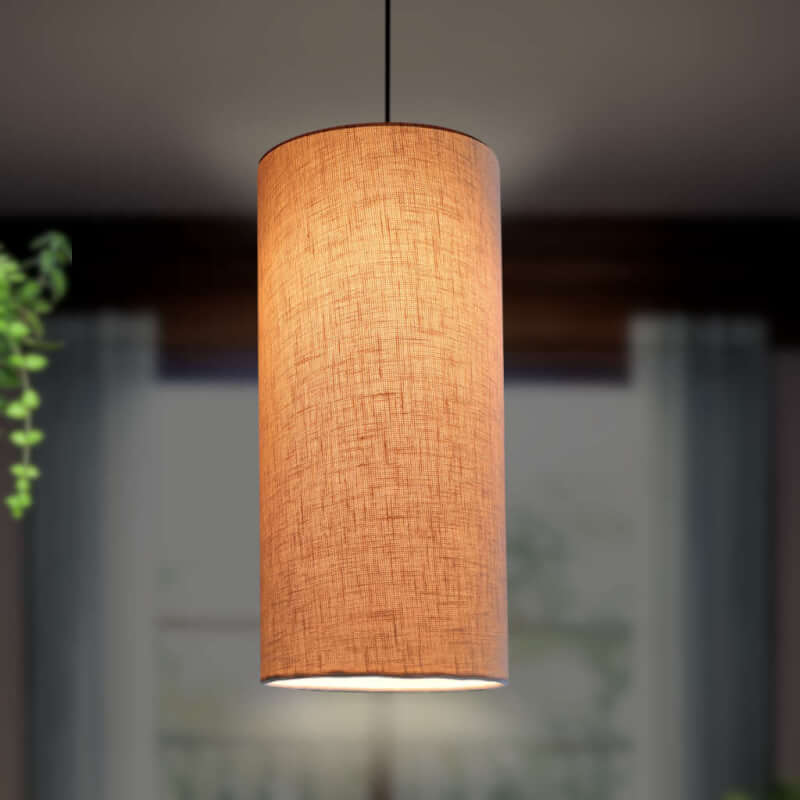
An invigorating escape from everyday schedule

I cannot even sit down to explain how frenzied life has been over the last month and a half. Being away from home and working long hours without weekend breaks has been demanding on both of us. Indulging in DIY was the last thing on our minds. A mini vacation is all we needed to de-stress, re-energize and pick ourselves up.
Nature photography
Much needed vacation to Thekaddy
The short retreat to Thekaddy was quite a welcome escape from all things that have been keeping us occupied and pre-occupied. It is always good to slow down, loosen up and relax and that is all we did. I learned a trick or two from Preethi in using her camera and I went click click click. Maybe I should learn photography properly to up the quality of pictures that we post here in the blog.

Well, sadly, we are back now and back to the usual rigmarole.  Still not sure how much time I would be able to spend on Woodooz for a short while now. You will see the frequency of posts coming down in the next two months, but only to pick up the lost momentum from thereafter.

For now, giving the customary DIY how-to posts a break and leaving you with pictures from our trip. Please do remember to not give up on us when you don't see a post for a long time.

Butt Joints - Simplest, easiest and the weakest

Wood joinery is an important aspect of Woodworking as it is critical to how strong and durable your project will be. Joinery involves putting two pieces of wood together. While there are many joinery techniques available, for a hobbyist who is beginning to learn the nuances of carpentry, butt joint will be the easiest and safest bet.  Two reasons why I say this :
  • No additional skill is required to join wood using this technique
  • No special tool is required
While appropriate joining methods need to be adhered to when making complex furniture at a professional level, butt joint would suffice for your everyday small DIY projects. 
Wood joinery
Butt Joints - Ideal for the beginner carpenter
When two pieces of wood are merely joined or butted together at right angles to each other, it is called a butt joint.  Since it involves fixing two surfaces using adhesive as the only joining medium, the strength of the joint is solely dependent on the glue potency, and hence is naturally weak. 

There are many ways to strengthen the joint and complement the effect of the glue. I use screws (which run deep into the surfaces that are being joined) to provide additional reinforcement for all my butt-jointed  projects. Whether it is the center table, or a clock frame or a lampshade frame, it is butt joints that I have used all the way.
Wood joining technique
Butt joints in my DIY projects
As you grow comfortable with butt joints, it is important to experiment with complex ones that are appropriate for the project that you are working on. Needless to say, butt joints are simple and hence ideal for anyone who is starting to pick up interest in carpentry.

Besides butt joint, I have also used mitre joint in one of my DIY projects. Can you guess which one ? Meanwhile, do leave your comment and let me know your thoughts on this post.
Linking in : Colours Dekor

Urban Hands - Chennai's exclusive handmade product fair

October 2012, I joined this group called Chennai Crafters in Facebook.

December 2012, we had the opportunity to meet up with some of the talented folks of the group.

Febuary 2013 these folks met up again (Oh ! I missed this meet) and were working on a secret mission.

After few random meets here and there, this is what they came up with.

Announcing ChennaiCrafters one-of-its-kind handmade craft exhibition / fair - URBAN HANDS.(Do click and join the events page to know more about the products and event details)
Hand Made crafts fair
Chennai's exclusive handmade product exhibition
Conceptualized and organized completely by the talented crafters themselves, this event ups my excitement factor and is something I don't want to let pass by. 

I could not get Woodooz up on the posters this time, but, am certainly going to be there to help, cheer and support everyone putting up a stall.

The products are going to be exclusive. Unique. And not something you would find elsewhere easily. Each crafter has built a brand of his / her own and is something you should not miss.

Invite your friends. Invite your family. And if you are reading this, you have already been invited. We are going to be there. Are you ? Leave me a comment if you are, because it is an opportunity to meet you in person, outside of this virtual world.

Chennai Crafters
The treat you are in for at the fair
Linking in : Colours Dekor

Carpenter, a community helper

My cousin invited us over during the weekend to her kid's project day at his school. The theme was "Community helpers". 5-6 kids took up one community activity and had to explain the role of the respective helper in the society. Postal service, Police station, Fire Station, Hospital, School, Agriculture were some of the stalls on display. It was a pleasant surprise to see my nephew take up the role of a carpenter :)
Carpentry in India
Carpenter - A Community Helper
"I am a carpenter and I do various kinds of wood work. I use these tools to build houses, cots, shelves, chairs", is what the kids were explaining to the onlookers. They had all kinds of woodworking tools on display including a drill, hammer, planer, clamp, chisels, screw drivers, hand saw and more. They also had miniature models of a shelf, couple of chairs and a table. And they were well prepared to take up any question related to what was on display in their stall.

Woodworking
Carpenter and his tools

Carpentry tools in India
Carpentry Tools
We went there to cheer for and encourage my nephew and were pleasantly caught unawares to see him explain an activity that I have, in recent times, been so passionately taking up. I liked it that the parents chose a respectable uniform for the mini carpenters despite many insisting on going with the cliched "Lungi". Carpenters, much like many others, work towards making our lives much easier and it is a positive sign to see this thought being instilled in the kids.

Do you agree that carpentry in India can be beyond just a profession and can be a leisure activity that anyone can indulge in ?  Or think it is just another myth ? Leave me your comments.

Due credits : While I did take the pictures, the credit for the charts and the entire set up goes to the parents of the kids and the school faculty.

Linking in : Colours Dekor

Do it yourself - Side Table / Cabinet

This DIY project started off as a requirement for an inverter battery case. The need was to make something that will blend in with the rest of the living room furniture and so we decided to do a side table / cabinet that will hide the out of place battery and the stabilizer. Though I started off with a very simple design  it took me close to 6-7 months to really start putting the effort to build it. Decided to pose with it to give you an idea on the size of this cabinet.
Indian DIY
Do it yourself - Side table 
While I shall come back and put up a detailed post on how this can be effectively built by you too, I was a little impatient and wanted to show off the finished product here. I will leave you, for the moment, with  some work in progress photos.
DIY Cabinet
The making of a DIY Side table / Cabinet
While I have all along been used to working with one side teak, this time around I decided to apply the finish directly on the plywood. This is something I had not done before and so I was a little skeptical. That said, I should accept that the outcome was quite satisfactory. If you have been following our "How to stain wood" series in Woodooz, you would understand how the  finish for this cabinet was achieved. 

I used European cup hinges for the cabinet door. The installation procedure for a cabinet door using cup hinges has earlier been documented in this blog. I chose a very simple pair of knobs from the local store for the door. Work is still in progress as I need to apply the final coat of varnish and also install a shelf to hold the stabilizer.
Woodworking DIY
Battery Cabinet
Meanwhile, do let me know how this cabinet has turned out. Do you think I should have done some things differently ? Share your feedback.

- Somu
Linking in : Colours Dekor